
How I Make the BEST Raspberry Jam Every Time
Some links may contain affiliate links. I share products whether I am affiliated with the company or not, always trying to give my OWN personal recommendations!
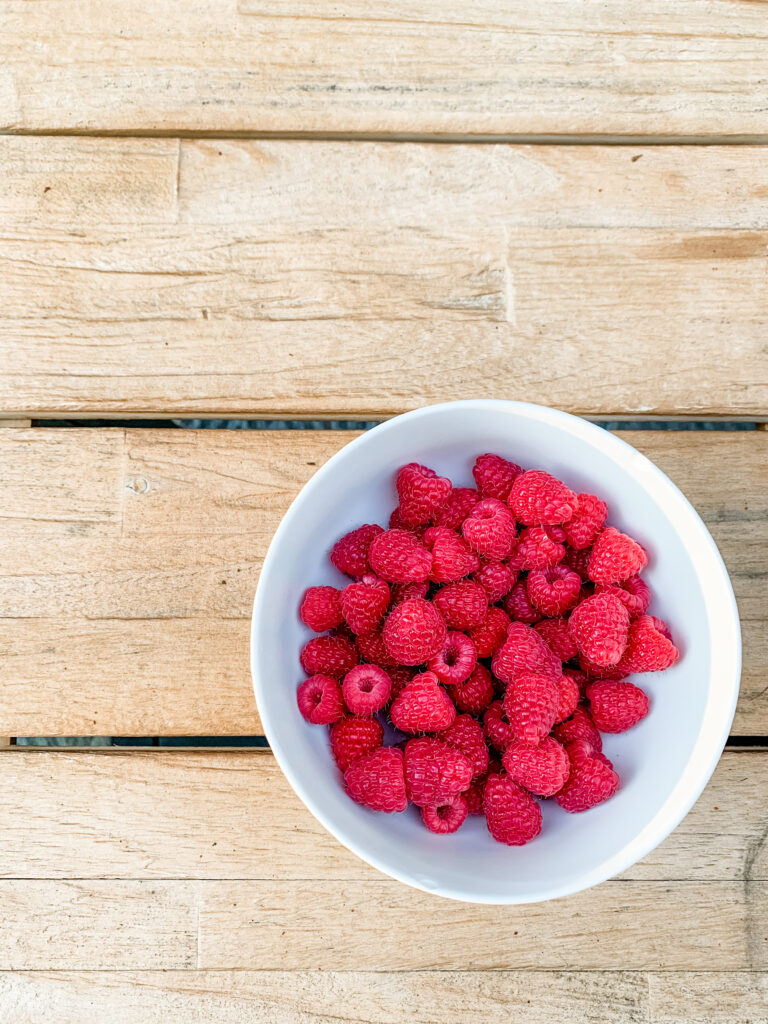
Our tiny backyard garden produces 30-50 pounds of raspberries every year… that is a LOT of jam for the tiny space that our raspberries occupy! It’s also over a month of early morning picking, but the good news is that my friends and family get to look forward to the very best Raspberry jam each and every season.
I tried a ton of different recipes before I finally figured out the perfect mix of things that worked for me. I’m simply sharing here in case it can be a blessing to someone else!
Also, forgive me for not having a life story to go with this post, but you came here for a jam recipe, right?? 🙂
A few things that help:
Canning Pot – The canning pot I purchased came with a funnel and tongs
Recipe:
2 lbs of Raspberries
2 1/2 cups of sugar
2 tablespoons lemon juice
1/4 tsp salt
*I like to use my raspberries the day of or the day after picking. I have made them after a few days, but I notice that the jam doesn’t set as well when the berries are overly ripe.
*Before starting, place a small ceramic plat in the freezer. This will be used to check consistency later on.
*Read Step 7 Below – you will want to have sterilized jars ready to go when your jam is finished and hot, so make sure that you are keeping that step in mind BEFORE you get to the point where your jam is finished.
1) Rinse raspberries off lightly in a colander. I like to use a longer colander like this because it allows me to move the raspberries around under the water easily without them getting soaked and waterlogged. You don’t want to add any extra moisture to your jam.
2) Once the raspberries are rinsed I lay them out on paper towels to absorb the remaining water and let dry a bit.
3) Add the dried off raspberries, sugar, lemon juice and salt to your pot. I cook on medium just until the sugar is dissolved.
4) Once mixed and dissolved, pop the heat up to medium high until it reaches a boil, stirring constantly. Let boil at this temperature for 2-3 minutes while stirring. This step is important for the pectin to be released from the fruit.
5) At this point, turn the heat down to med-low and bring the mixture down to a simmer. I typically let it simmer for anywhere from 30-45 minutes, stirring often, and I start checking consistency on a frozen plate around the 30 minute mark.
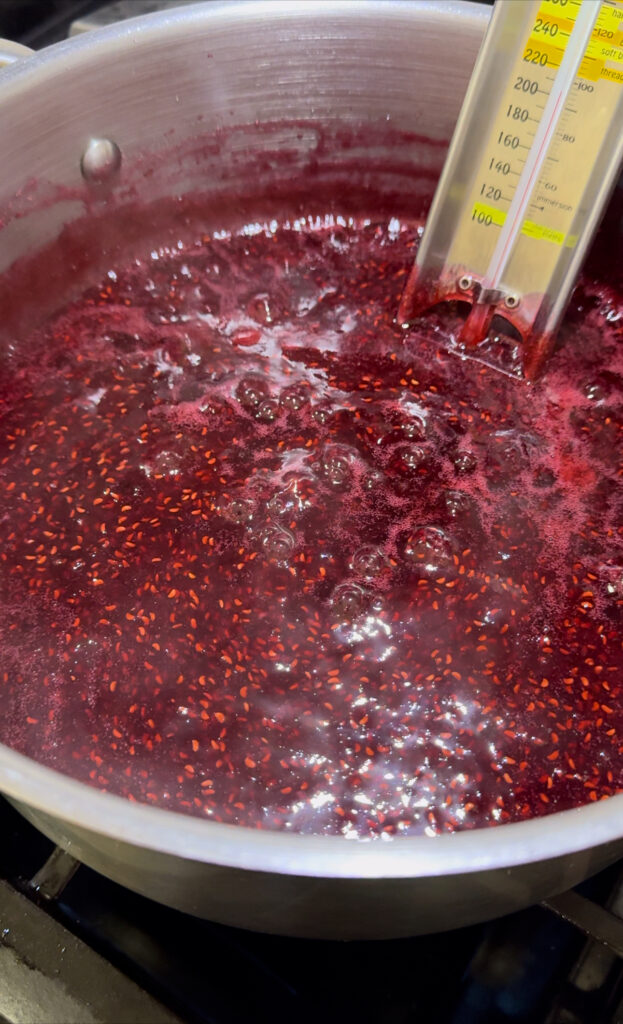
6) To check consistency, I just dob a small amount on the frozen plate, run my finger through it and if the spot where I ran my finger stays clean, it’s ready! Another option if you have a candy thermometer, once it hits around 215 degrees it is typically starting to set.
7) Once your jam is set, remove from heat and get ready to put in jars! I always have my jars sterilized and I place them in the oven at 200 degrees on a cookie sheet for 20 minutes while the jam is simmering. This insures they are clean, dry AND warm before you put the HOT jam into the jars. I also sterilize my funnel and spoon before transferring jam to jars. For this recipe I typically fill (5) 8oz canning jars.
8) Fill each jar, leaving 1/2 inch head space from the lid. Once the jars are filled, I put the lids and screw tops on, making sure they are super tight. If you plan to consume your jam quickly, this is the last step! Just let cool and place in the fridge.
Optional
9) I’m typically making a LOT of jam over the course of our growing season, so I prefer to give mine a good water bath to can for longer term storage. Make sure that there is enough water in the pot to be at least 1 inch over the top of the jars. I bring my water bath canner to a full boil and put my 5 jars in the canner with tongs. Place the lid on the canner and allow to boil for 15 minutes. Remove the jars from the pan and place on a surface to cool untouched.
10) We have kept and used jam for up to 2 years and I believe it will last even longer if stored in a cool, dry place. Good luck getting it to last that long without wanting to eat it all immediately! 🙂

I'm Jenn and I'm here to help you learn all about how to grow your business through intentional partnerships.
Read more about me

I'm so glad you're here
Hello!

© 2024 Midlife Gardening club. all rights reserved. privacy policy. site by sugar studios + Showit

